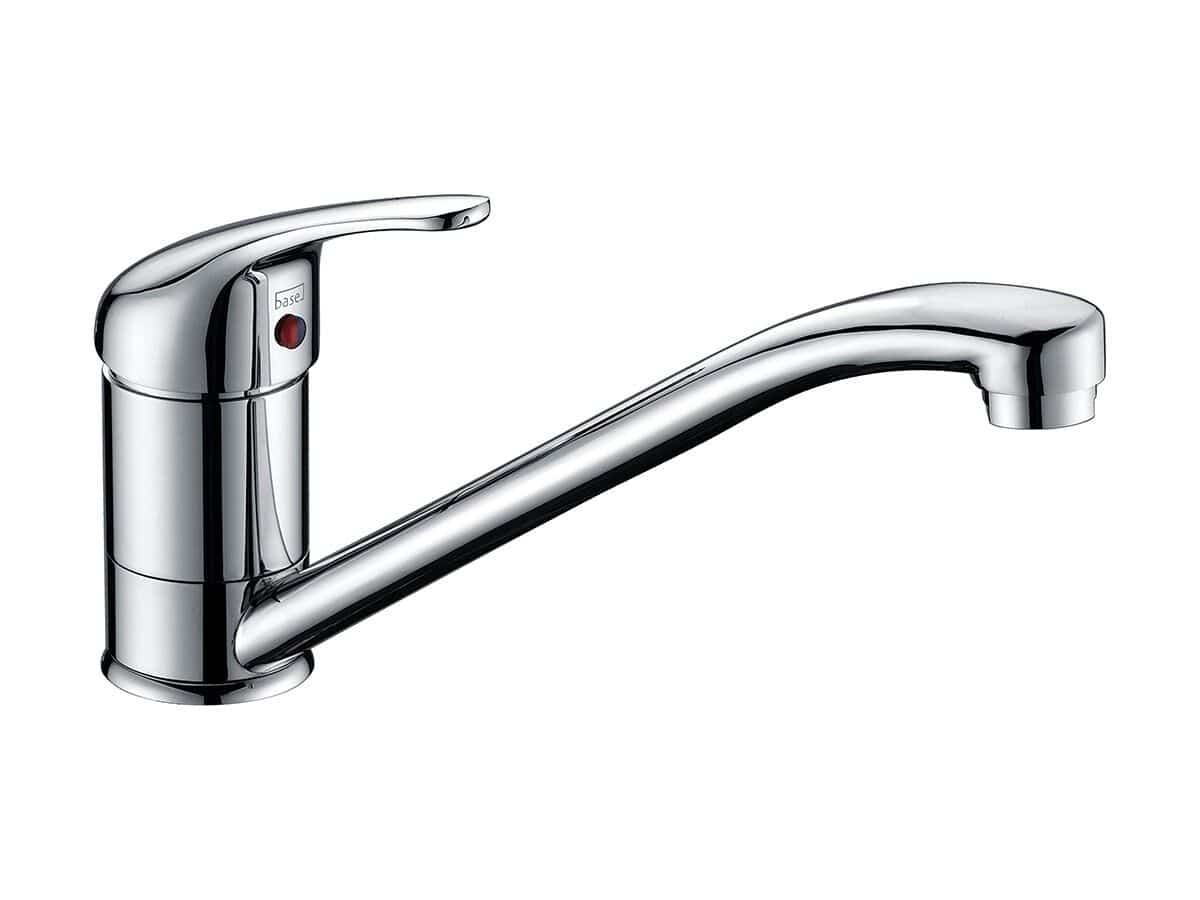
With a little planning, replacing your kitchen mixer tap could be pretty straightforward , or it could end in a total disaster!
A mixer tap is a valuable addition to any home. With the ability to change the temperature of your water on your sink at will, it makes life much easier. Knowing how to fix a broken one correctly can save you a lot of headaches and money in the future.
Most plumbing jobs require a professional plumber, but if you are a DIY enthusiast and have the right tools, this guide will help you replace your kitchen sink mixer tap all by yourself.
Related: How To Successfully Fix A Flexible Water Connector.
Tools You Will Need to Replace The Kitchen Tap
Your preferred new kitchen tap (including fixings)
Adjustable open-ended spanner
Pliers
Box spanner
Screwdriver
Before you fit a new tap, first, you must remove your old one.
How To Remove The Old Tap
Cut off the water supply
Start by turning off the water supply to the kitchen taps. If your taps have individual isolating valves, turn these so that they’re at a right angle to the pipe in order to shut off the water. There may also be a valve that cuts off the supply from your hot water supply tank (usually hidden in the loft or an airing cupboard). If your taps don’t have isolating valves, you’ll have to turn off your main’s water supply of your household at the main stop tap (mostly located underneath the kitchen sink).
Clean up the area
Clearing up the area surrounding your old kitchen tap will be essential. Ensure you have enough room to maneuver around the area and enough space to work around when installing the new tap. You can put a bowl below the sink or lay down a towel to catch any drips, grim, or dirt that might fall off when you unscrew the pipe connectors. It’s also easier to make sure you have all the tools and everything you might need beside you before getting started.
Disconnect the old tap(s)
With the water supply cut off, and the area ready, you can now disconnect the tap(s).
For standard sink mixer tap connection, use an open-ended spanner to loosen the nut where the tap joins the supply pipe or fitted isolator valves. The nuts might have become too tight over time. Use one hand or a pair of adjustable pliers to prevent the tap on the top from twisting when you turn the spanner.
Expect some water to come out at this point. Completely unscrew the nuts to free the tap from the water connections.
Remove The Old Taps
To remove the existing tap, loosen the nut that clamps it to the mounting surface.
This task requires different tools depending on the type/style of your kitchen tap.
Individual traditional pillar & bridge combination styles
these kitchen tap models have a slightly larger retention nut that can be hard to reach with a normal open end spanner. You will need a dedicated basin wrench or a correct size box spanner to loosen the nut. Once you remove the nut completely, the tap will come off. Make sure to remove the associated washers or any seal remnants left hanging up.
Single block combined and mixer taps
To loosen the retaining nut, you’ll need an open-ended wrench. If you are in a small space with restricted access, you will need a correct-sized box spanner to get the nut off its securing stud. You might need someone to help you hold the tap above to prevent it from rotating as you open it. Again, remember to remove the associated washers or any sealant remnants left hanging up.
Fitting In The New Mixer Tap
With all the tedious tasks done, you can now proceed to fit in your new tap.

The easiest way to make sure you get the correct replacement tap is just to carry the old one to the store. Choose one that corresponds to the height and spout height, and reach of the worn-out tap. With many brands and types made of different materials, make sure to be thorough and careful if you want the new tap to last for longer.
You can consult a professional plumber if you are unsure of the best material/brand to use.
Install a kitchen tap is far easier than removing one.
Step #1. Clean the mounting surface
Once the old tap is removed, clean the surface where your old kitchen tap used to be. It’s likely there’ll still be residue buildup from the seals or gaskets where the tap was. Some might be harder to remove, so take your time and don’t use harsh chemicals or brushes on this area to avoid damaging the surface.
Step #2. Mount the new kitchen tap
Individual Pillar Or Bridge Combo Tap
For individual pillar or bridge combination mixer tap styles, apply about four or five layers of sealing PTFE tape to the water supply mains connection lower threads. Wrap the teflon tape in a clockwise direction, so it secures the tap the right way. If you wrap it in an anticlockwise direction, the tape will unravel and be rendered useless as you screw on the tap fitting. Some mixer taps don’t need PTFE tape as the hose connections already come pre-fitted with integral seals.
Hob-mounted Hot & Cold Water Tap Combo
A hob-mounted hot and cold water tap combo with a separate spout coming through the kitchen sink usually has three holes in the sink. You can convert this to a single-hole kitchen mixer, but you might need to hole-saw a bigger hole for the mixer and insert chrome bungs into the two other holes to seal them. You might also need to slightly reconfigure the plumbing underneath for the new installation.
NOTE:
- Add water-grade caulk or your preferred seal at the base of the tap stand before installing it.
- When tightening the nuts for the new mixer tap, hold the tap in the right position. Make sure to do a final check for the tap alignment before you tighten it further.
- Ensure any seals, washers and mounting plates remain in the right position.
Step #3 Turn on the water supply
Once you are done reconnecting the tap, slowly open the isolators or mains connection and allow water to the tap for about 5 minutes (make sure the faucets are closed). Check under the sink to see if there are any signs of leakage. If everything looks good, slowly open the taps and let them run for a few minutes.
And that’s it! You’ve successfully fitted your taps.
Make sure to regularly check the water connections for any signs of a leak over the next couple of days, just in case.
How Long Will It Take to Replace The Tap?
If you have some DIY experience, the right tools, and techniques, replacing a kitchen tap by yourself can take as little as thirty minutes, but if you don’t have any idea how a wrench looks like, you could spend hours or even the whole day trying to install the new tap.
However, the absolute answer really depends on your skills, tools, and other tasks such as preparing and protecting the area.
How Much Does It Cost to Replace Kitchen Mixer Taps?
A typical mixer is relatively affordable, and most DIY stores and merchants offer a good price. You can expect to pay about $40 for an average quality tap. The price could be higher depending on your brand, quality, and model of the tap as well as your local area’.
If you decide to hire a plumber, it will typically cost about $100 or more to replace a kitchen faucet, but the cost can reach as high as $500. Again, the actual price will depend on several factors, as mentioned above.
Key Takeaways
If you are the kind of person who adores doing tasks on their own, then replacing your kitchen faucet is a fairly simple job to complete, and it will save you a few dollars.
When fixing the new taps, make sure you are careful. Do not overtighten the nuts as it could destroy the threads making it hard and expensive for future repairs.
If you aren’t confident that you can DIY your kitchen tap replacement, always outsource. You can always schedule an appointment with one of our experienced and licensed plumbers in Adelaide to do it for you.
Hard water in Australia is often the culprit of clogged water supply pipes and malfunctioning taps. You can avoid replacing faulty faucets by fitting in an under-sink water softener, or you can go the extra mile and get a professional water treatment specialist to fit in a Whole House or Reverse Osmosis Filtration Systems. The initial cost might be high, but it will save you a lot of cash in the future as you will have fewer cases of faulty showers (the common culprit of hard water) and taps.
Related: How To Fix A Spring Loaded Pop Up Waste Plug In A Hand Basin Or Bath Tub
Bottom Line:
Getting the best quality tap and replacing it can be challenging, especially if you have no prior knowledge about basic plumbing. It can seem like a simple job, but it could end up terribly wrong. Likewise, you might not have the right tools to make the job a success. It’s always good to seek help from a professional and licensed plumber if you have any doubts.


